
Garbage Disposal Repair Near Me
Starting price: Call for pricing
A jammed or humming garbage disposal usually needs a proper unjamming, a reset, or a worn part replaced. Plumber Modesto Pros diagnoses disposal problems at the source: jammed flywheels, failed seals, loose mounting rings, and bad electrical connections. Many repairs are completed in one visit, and when replacement is the better call, you will hear exactly why.
What does garbage disposal repair cover?
Garbage disposal repair covers everything that keeps your existing unit grinding, draining, and running safely. The most common visit is a jam: something hard wedges between the flywheel and the grind ring, the motor stalls, and all you hear is a hum. Other repairs fix leaks at the sink flange or the discharge pipe. A mounting ring that has worked loose lets the unit shake, and electrical faults can hide in the wall switch and wiring. Plumber Modesto Pros opens each job with a diagnosis, because a disposal that hums from a simple jam needs a very different fix than one leaking from a cracked housing.
Why does my disposal hum but not grind?
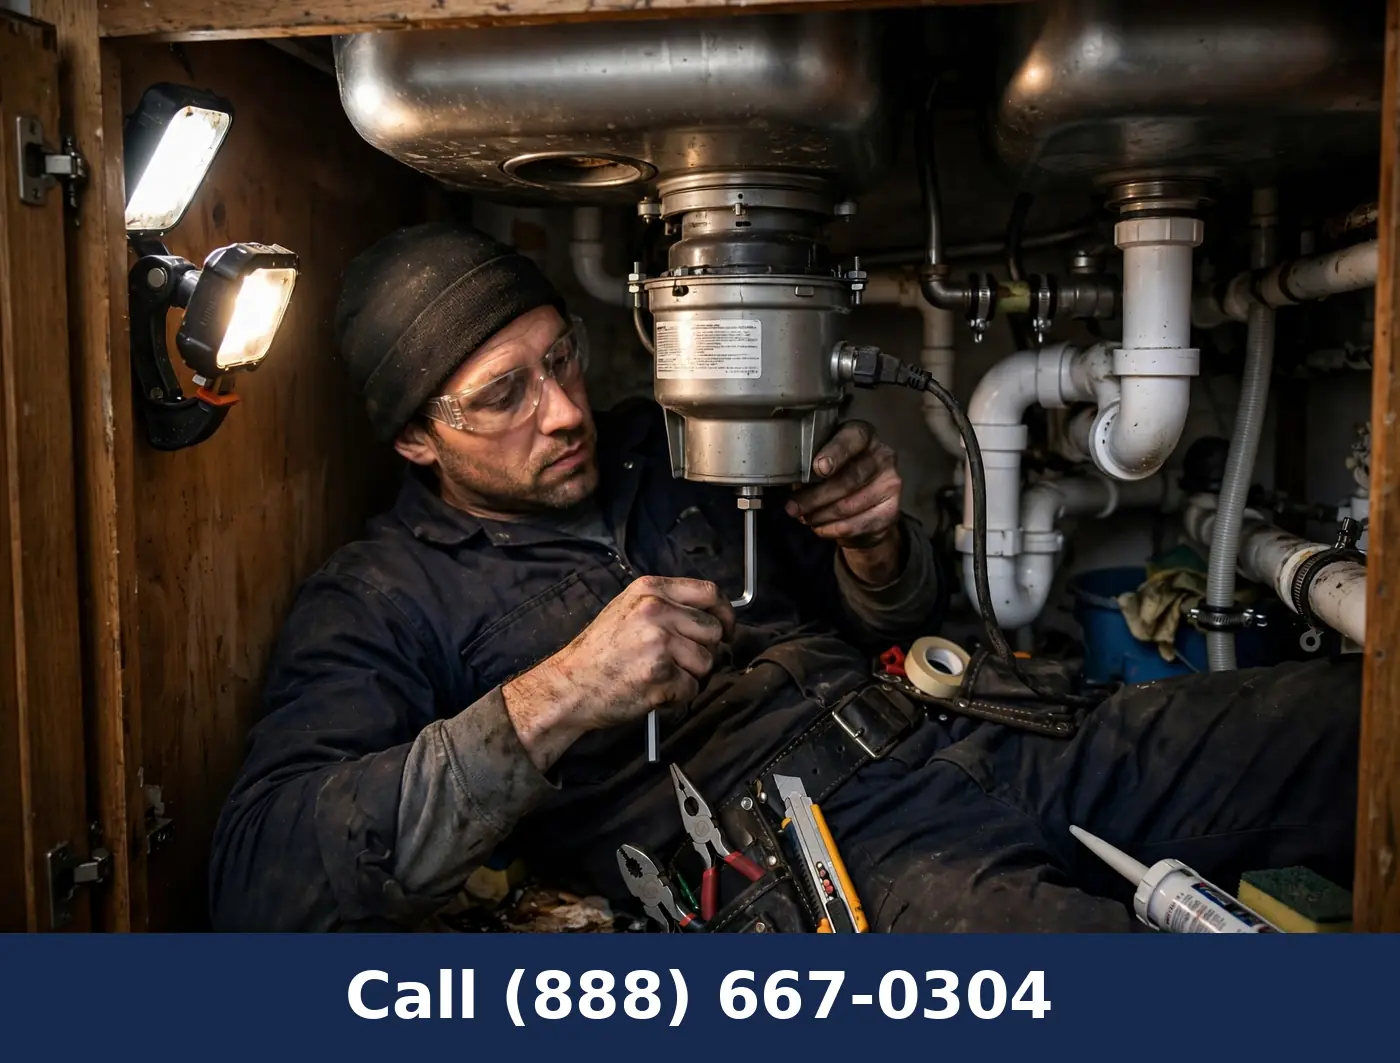
A hum with no grinding almost always means the flywheel is jammed. Something solid — a bone fragment, a bottle cap, a piece of glass — has wedged between the rotating plate and the stationary grind ring. The motor strains against it and hums. The correct fix is to cut power at the wall switch first. Work an Allen wrench in the hex socket on the bottom of the unit, rocking the flywheel back and forth until the object breaks loose. Remove the debris from above with tongs, then press the reset button underneath. The reset button is a small red or black button on the bottom of the housing. It pops out when the motor overloads, and pushing it back in restores the circuit. If the unit hums, gets cleared, and then jams again on ordinary scraps, the impellers may be worn. A weakening motor shows the same pattern, grinding slower each time it is loaded.
• Humming with no grinding means a jammed flywheel, not a dead motor. • The hex socket on the bottom is made for unjamming with an Allen wrench. • The reset button under the unit restores the circuit after an overload.
What do disposal leaks tell you?
Where the water appears tells the story. Water dripping from the very top, around the sink flange, means the plumber's putty seal or the mounting ring has loosened. This is repairable: the unit comes down, the flange is resealed, and the ring is drawn tight again. Water at the side discharge pipe usually means a worn gasket or a loose slip nut, also a straightforward fix. Water leaking from the bottom of the housing is different. That water has worked past the internal shaft seals, and there is no reliable way to reseal them from outside. A bottom leak is the standard signal that the unit has reached the end of its life and should be replaced rather than repaired. Plumber Modesto Pros will show you where the leak originates before recommending either path.
What about a disposal that will not turn on at all?
Start with the simple checks. Make sure the wall switch is on and the breaker has not tripped. Press the reset button on the bottom of the unit. Then check whether the outlet under the sink has power by plugging in something small. If the unit still does nothing, the problem is deeper: a failed wall switch, a loose wire nut in the wiring compartment, or a burned-out motor. Electrical troubleshooting under a sink calls for care, since water and wiring share the space. A technician can trace the circuit safely and tell you whether a switch replacement or a new unit is the answer.
What should you never do with a jammed disposal?
Never put your hand inside the unit, even when the switch is off and the breaker is thrown. The impellers are sharp and a jam can release suddenly. Never pour drain cleaner into a disposal. Caustic chemicals sit in the grind chamber, damage the seals and hoses, and create a hazard for anyone who later reaches in with tools. Never keep flipping the switch on a jammed unit. Running a stalled motor overheats it and can burn out the windings. Cut the power, clear the jam mechanically, press the reset, and only then switch it back on.
Which problems mean repair, and which mean replacement?
Repair makes sense when the problem is external to the motor. A jam, a tripped reset, a loose mounting ring, a worn discharge gasket, a failed wall switch, or a resealable flange are all repairable. Replacement makes sense when the problem is inside the sealed housing. Water from the bottom, a motor that trips the reset on every load, a cracked housing, or grinding parts worn smooth all mean a new unit. Age matters too. A unit well past its prime that needs a second repair in a year is often throwing good money after bad. Plumber Modesto Pros gives you the straight answer on which side of that line your disposal falls on, with the reason shown, not just told. That honesty is why many customers call back for the replacement when the time comes.
What affects the cost of a disposal repair?
Simple unjamming and reset work is the lightest job. Resealing a flange or replacing discharge fittings takes more time under the sink. Electrical diagnosis adds time when the fault is in the switch or wiring rather than the unit. If replacement is the call, the motor size and build of the new unit drive the figure. Access matters as well: a cabinet packed with cleaning supplies or a disposal wedged against a deep sink basin slows the work. For an exact figure, call (888) 667-0304 and describe what the unit is doing.
Why call Plumber Modesto Pros for disposal repair?
A disposal combines a powerful motor, sharp grinding parts, water, and electricity in one small space. That combination rewards the right technique and punishes guesswork. Plumber Modesto Pros clears jams the safe way, fixes the leaks that are worth fixing, and tells you plainly when a new unit is the better answer. The work is tested under running water before the visit ends, so the disposal grinds, drains, and shuts off the way it should. Call (888) 667-0304 and get the sink working again.
Features
- Safe unjamming with an Allen wrench through the bottom socket
- Reset of the overload protector after the jam is cleared
- Inspection of the flywheel, impellers, and grind ring for damage
- Resealing of the sink flange when leaks start at the top
- Replacement of worn discharge gaskets and slip fittings
- Tightening and realignment of loose mounting assemblies
- Testing of the wall switch and electrical connections under load
Benefits
- Get your sink draining again without buying a new unit
- Clear jams safely with the right tools and technique
- Stop the drip that is soaking the cabinet floor
- Quiet down a unit that rattles or growls
- An honest answer on repair versus replacement
- Protect the dishwasher drain tied to the disposal
- Clear guidance on what not to put down the unit